Server Management Panel
Cpanel©
(Part I)
2.1- Create/Edit/Delete email accoounts
3.2- Backups of Databases (phpMyAdmin)
4.1- How to Make/Download a full backup
4.2- How to download a backup of the root directory
Log in your Server Management Panel at the following address:
http://yourdomain.com/cpanel
(change “yourdomain.com” by your real domain name)
A window appear asking for your Username and Password, being these as indicated in the initial email you received after you contracted the web hosting.
(Note: FTP access (ftp.yourdomain.com) will use the same Username and Password. The folder to upload is: public_html).
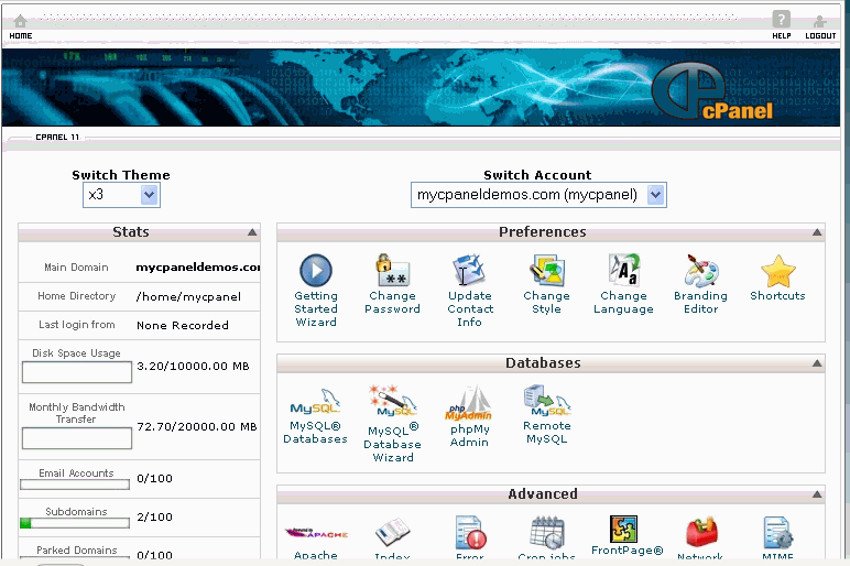
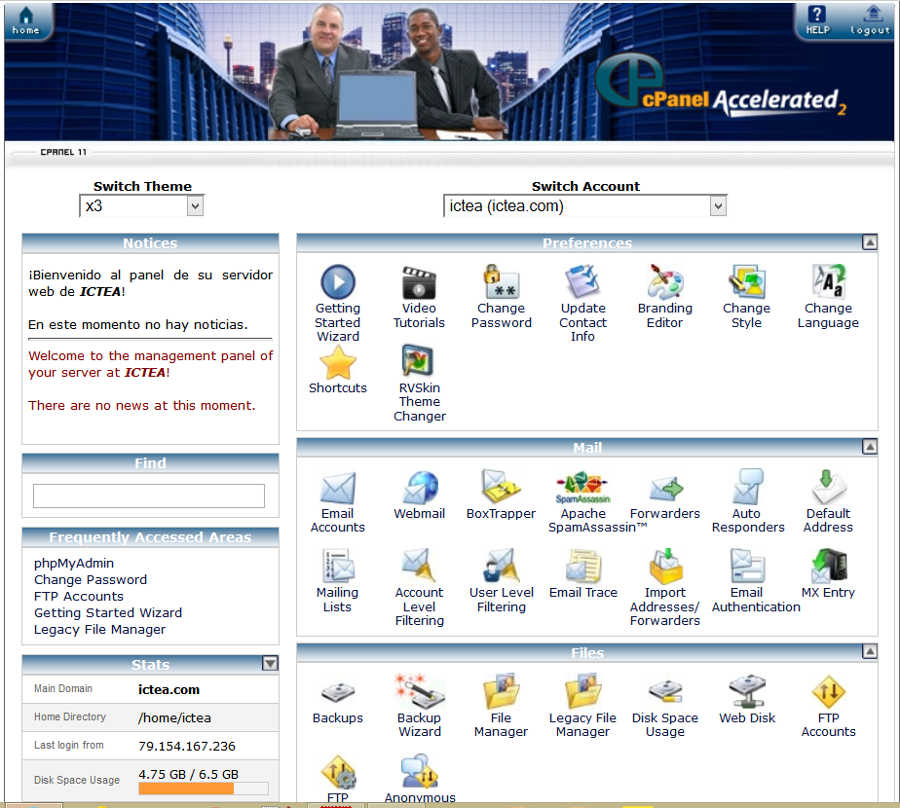
The Server Panel will be displayed as shown belowo:
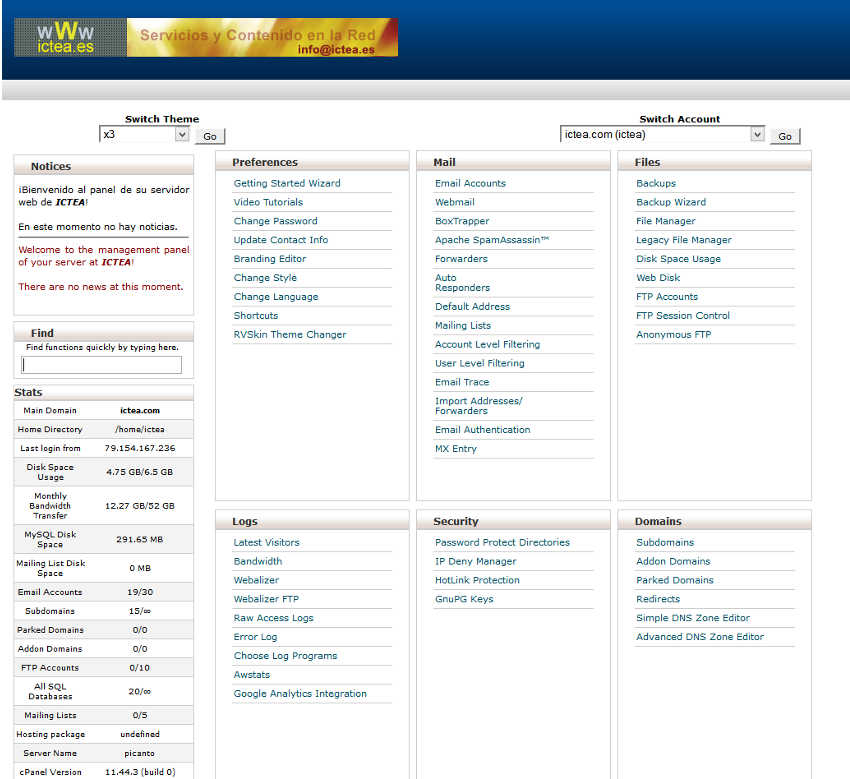
In the column to the left we see our account info (available disk space, created email accounts and maximum availables, etc).
In any page you see links at the bottom and you can go to the 'HOME PAGE' clicking on “HOME” or log out from the panel clicking on “LOGOUT”:

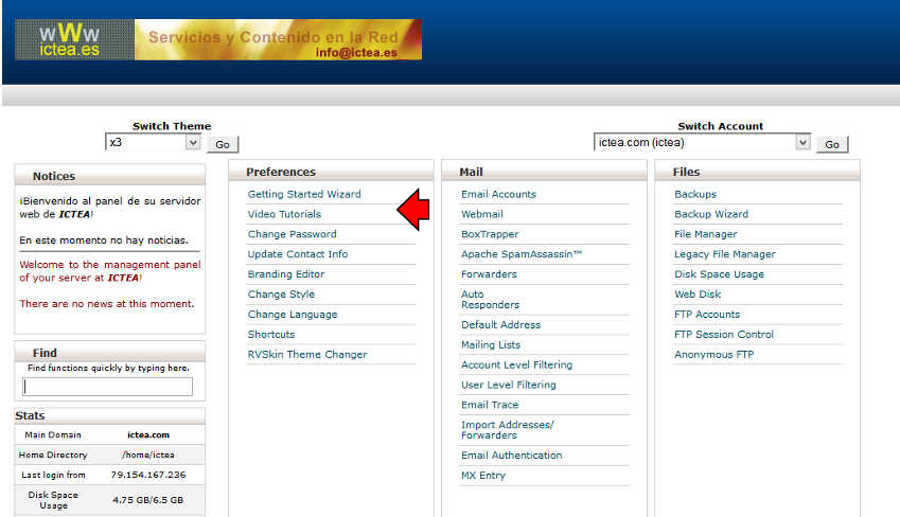
Let's see the applications we can be interested in from the ones included with these server management panel. To know more you can click on any of the two first links from the block 'Preferences': 'Getting Started' or 'Video Tutorials'.
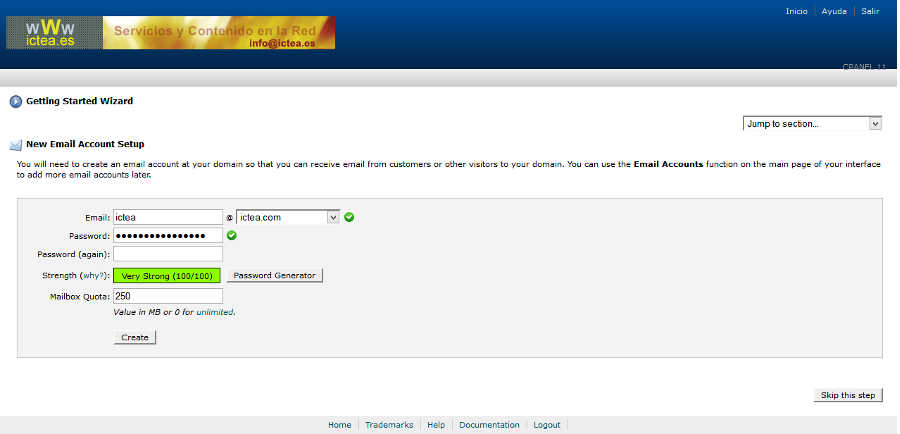
If in the block 'Preferences' you click on the first link (Getting Started), a page appears from where you can select topics that will help to get started using cPanel.
In this page there is a drop-down menu to the left in case you want to change the lenguage, and other to thr right (Jump to section), allowign to pick a help topic, as in this example that 'New Email Account Setup' is selected.
If no topic is selected then you can use the button 'Continue' (down-right) to go to the first topic and then you can click on the button 'Skip this step' to go to the next and so on.

As 'New Email Account Setup' has been selected a page appears explaining how to do so.
If in 'Preferences' you click on the second link (Video Tutorials), a window opens from where you can select any topic that will help to get started using cPanel.
Click for the wished topic on any link (Quality) HIGH or LOW to see the video at de definition selected.
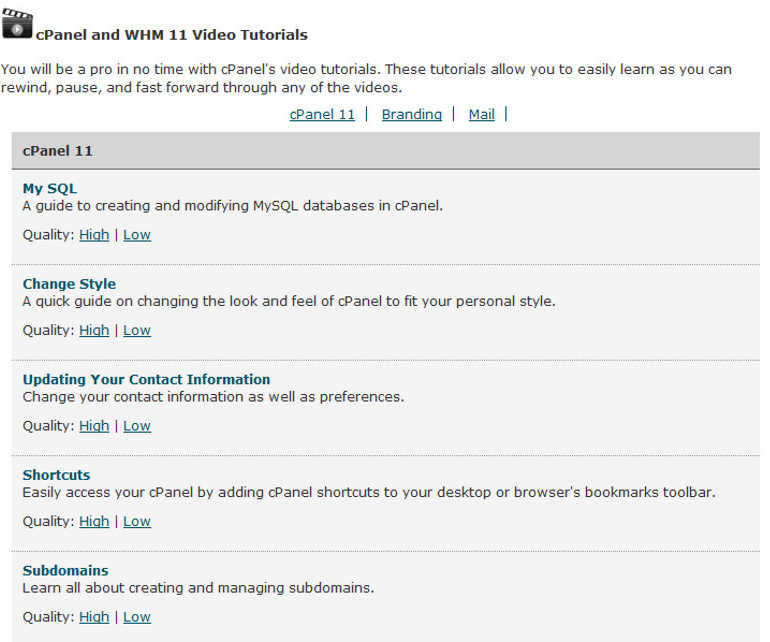
In this example we have clicked on 'High' for 'Updating Contact Information' and a new window opens displaying the selected video.
IMPORTANT.- ICTEA has also other Video-Tutorials. You can access to more info on these and the link to see them clicking HERE.
This allows to change the password to log in the panel, indicated in the initial email you received after you contracted the web hosting for any password you want. To do so, in the panel click on the link “Change Password” (3rd. row in 'Preferences'), displayng the page show below to enter the current password ant the wished one.
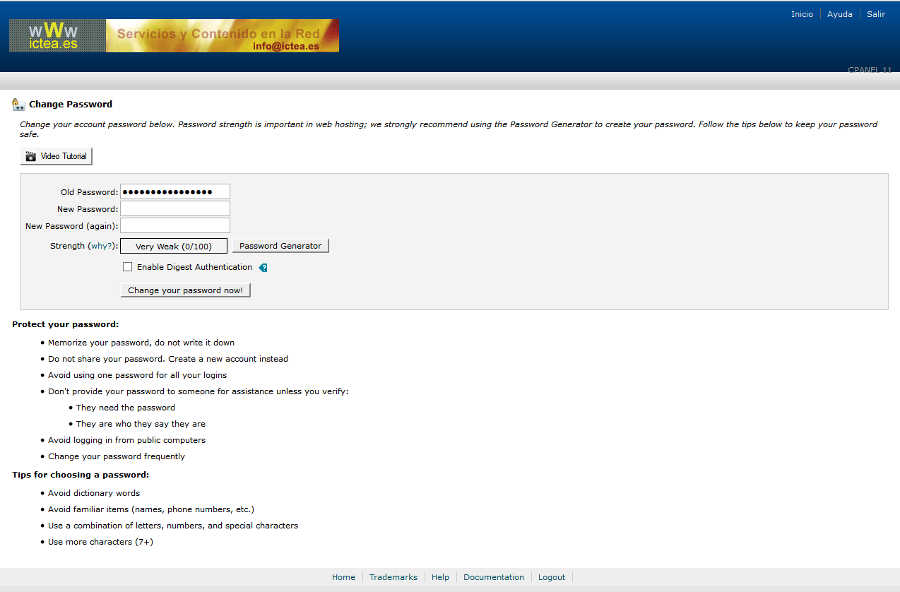
An indicator (Strength) displays the strength of the password, which should approximate as possible to 100%.
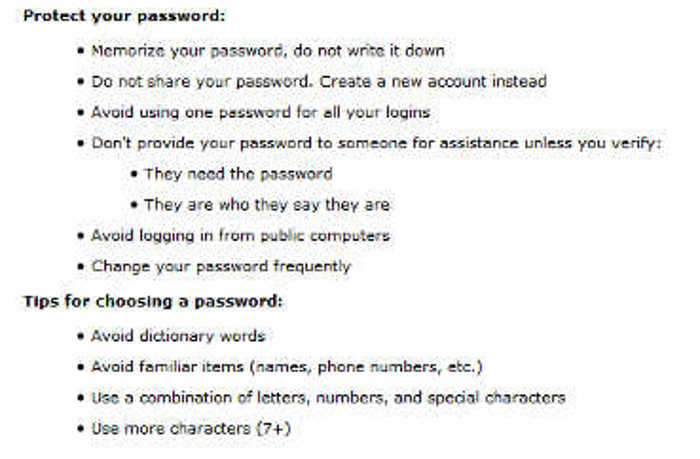
Also, further down the page there are a number of tips to choose the password.
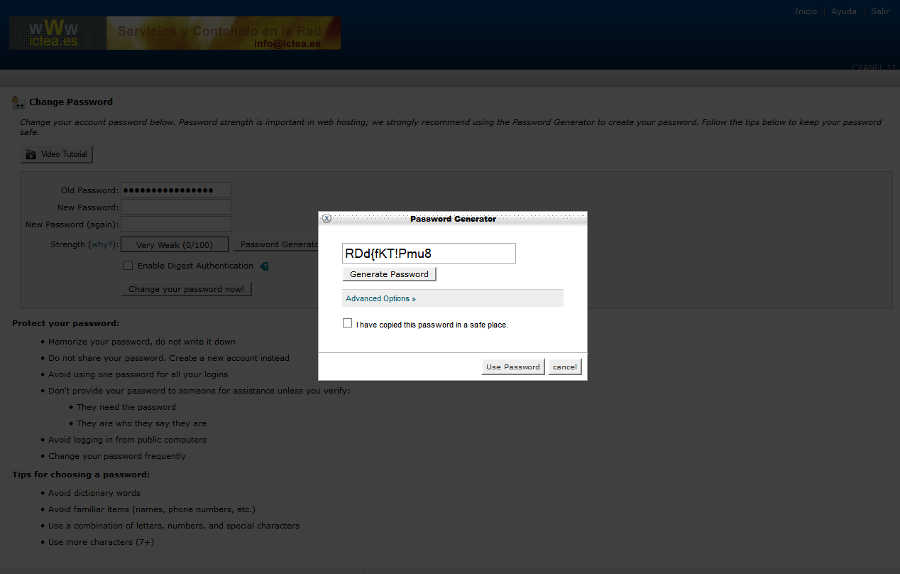
Also, a button to the right of the strength indicator (Password Generator) allows to generate a maximum strength password.
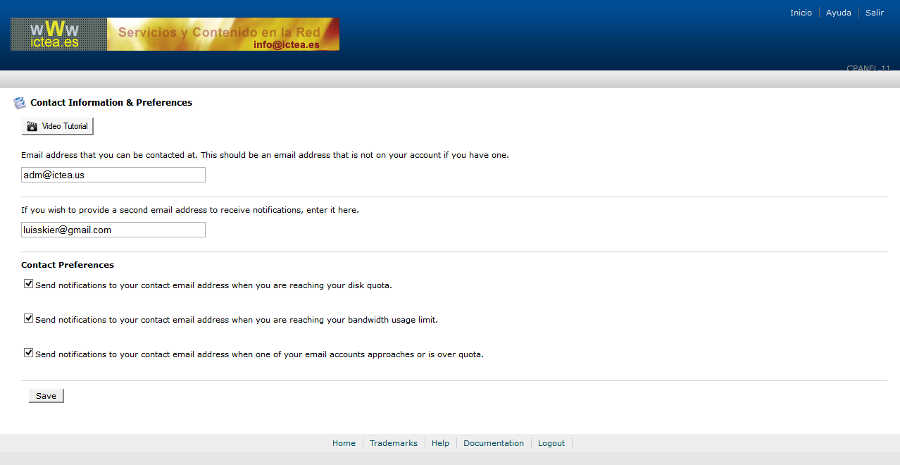
This allows us to change the contact information (email address) used by the server to sent the notifications you select. To do so, in the panel click on the link “Update Contact Info” (4th. row in 'Preferences'), displayng the page show below.
apareciendo la página que se muestra, en la que se deberá introducir en la primera casilla, la dirección de correo a la que el servidor nos enviará las notificaciones que le indiquemos a continuación. En la segunda casilla, podemos opcionalmente, introducir una segunda dirección de correo a la que el servidor enviará una copia, lo que es recomendable, caso de que falle el envío de la 1ª copia.
Marcamos las casillas que indican la información que queremos recibir, y pulsamos el botón 'Enviar'.
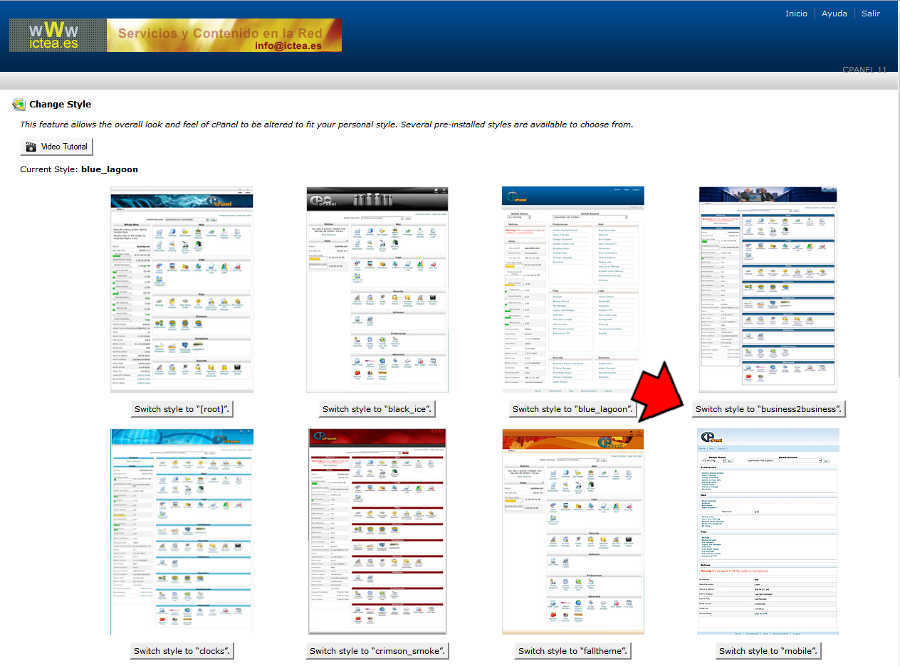
Clicking on the link 'Change Style', in the block 'Preferences', a page appears allowing to chage the style for cPanel.
In this example, we click on the button 'Switch to style business2business' for cPanel to display with this design.
A confirmation page appears:
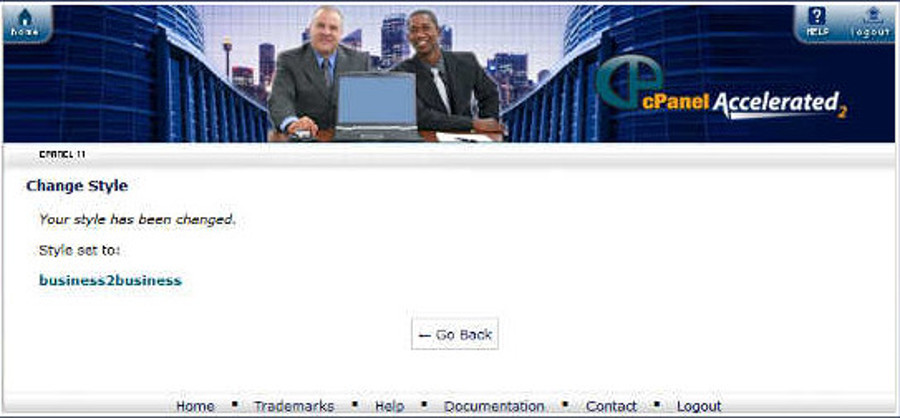
And now cPanel displays with the selected style:
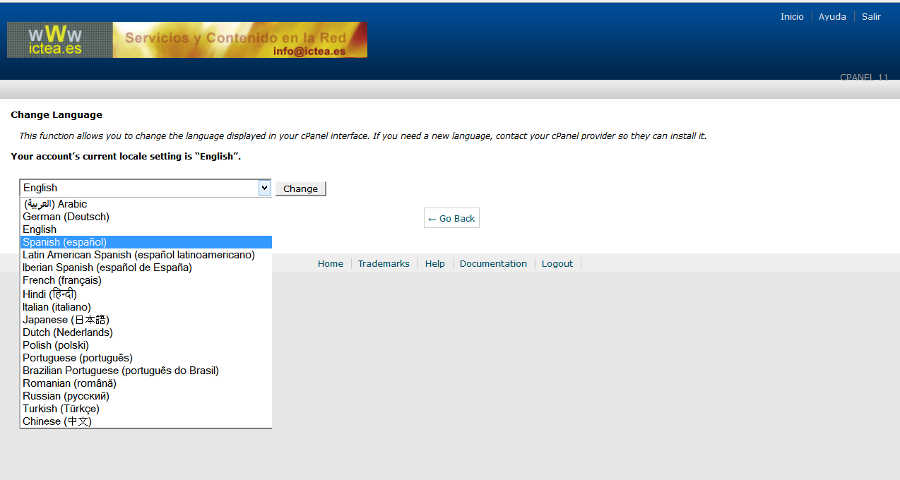
Clicking on this link a page appears allowign to select the language for cPanel. You can select among 28 languages.
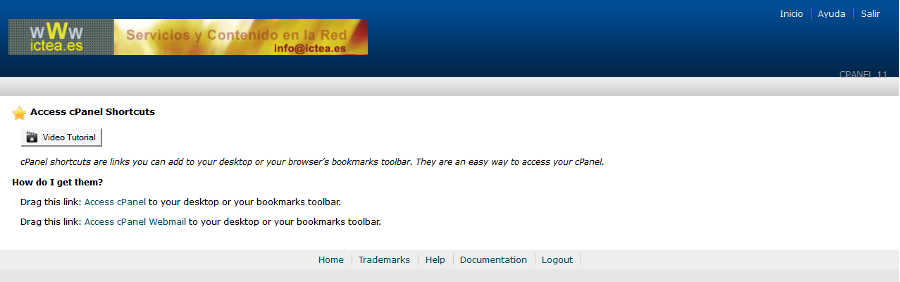
Clicking on the link 'Shortcuts' in the block 'Preferences' a page appears allowing, simply by 'drag' and 'drop', to have a link either in 'Favorites' or in the 'Desktop' to log in either this cPanel or the email application Webmail.
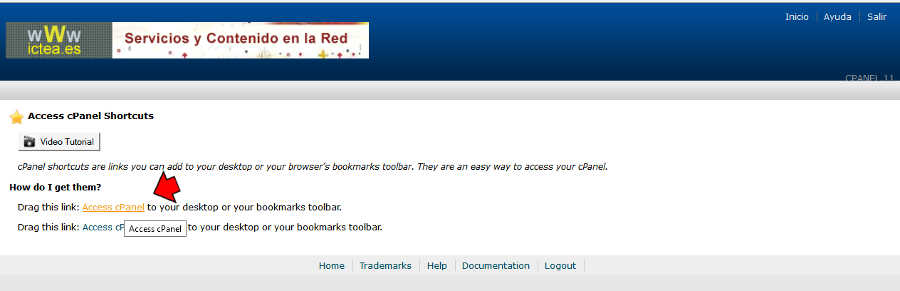
As an example, let's create a shortcut to this panel in our desktop. To do so, simply 'drag' and 'drop' the indicated link to our desktop:
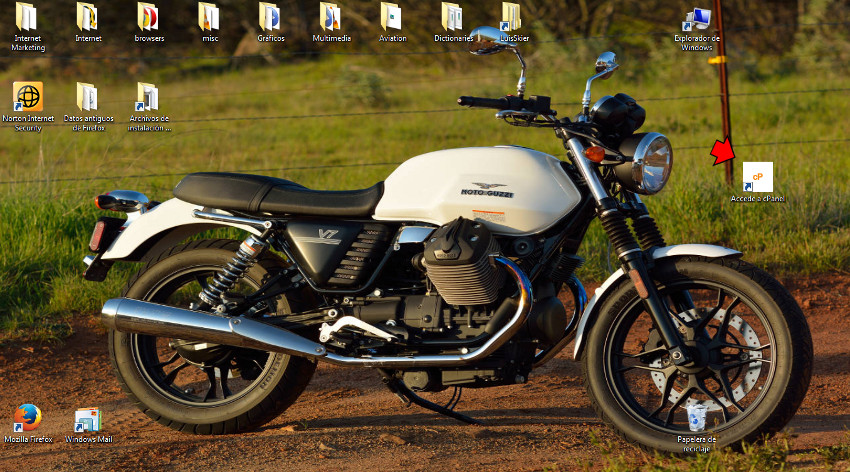
We see at the desktop an icon allowing simply clicking on it to log in this 'cPanel'.
Clicking on the last link 'RVSkin Theme Changer' in the block 'Preferences' a page appears showing the default theme (X3).
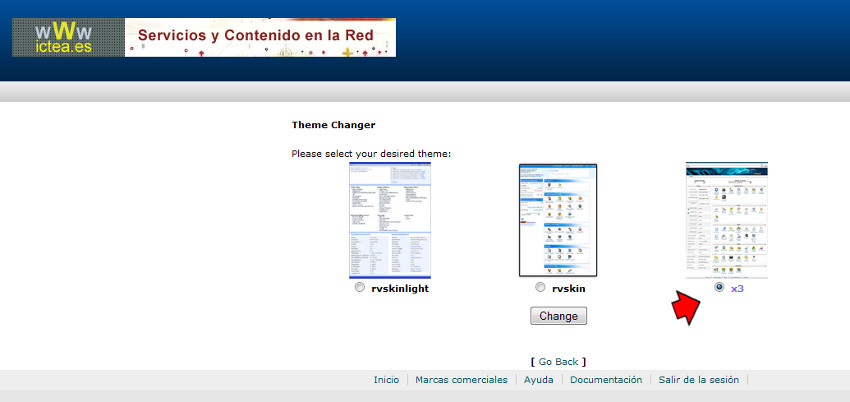
IMPORTANT.- Theoretically if we select one of the displayed and press the button 'Change', the cPanel theme should change to the chosen. Will not change! as ICTEA has forced the X3 theme to be default. Instead, to change the theme or template with cPanel shows, use 'Change Style'.
2.1.- Create/Edit/Delete email accounts.-
An option you can be interested in is to create/change/delete email accounts. To do so click on the link 'Email Accounts' in the block 'Mail'.
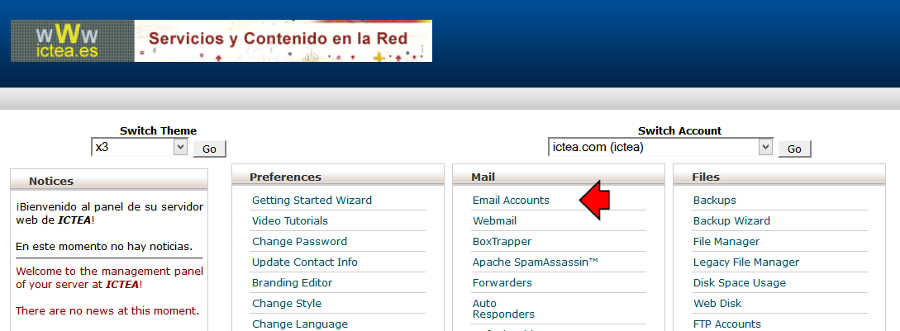
A page appears allowing to create a new email account (or allowing to edit/delete an existing one).
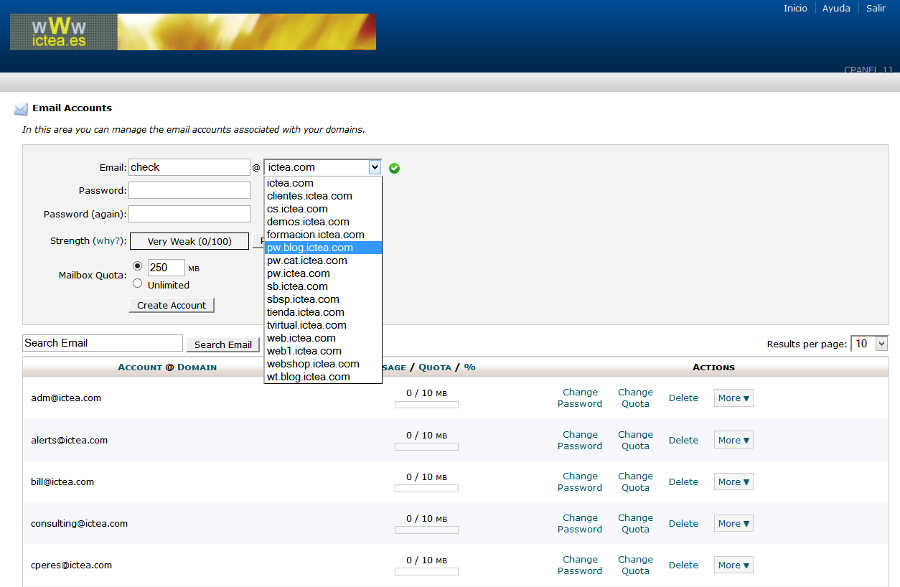
In the first box enter the name of the account. We enter 'test'. If you have subdomains, from the drop-down menu to the right of the account name select it. In this example we select 'pw.ictea.com' so the email account will be 'test@pw.ictea.com'.
In the second box enter the password and re-enter it inthe third box (or click the button 'Password Generator' so the system generates a password of the maximum strengh).
The four box (Mailbox quota) is the size (in Mb) of the account. By default is 250 Mb and there is no need to change anything.
Finally click the button 'Create account' and a confirmation appears.
And the new account appers in the list of accounts.
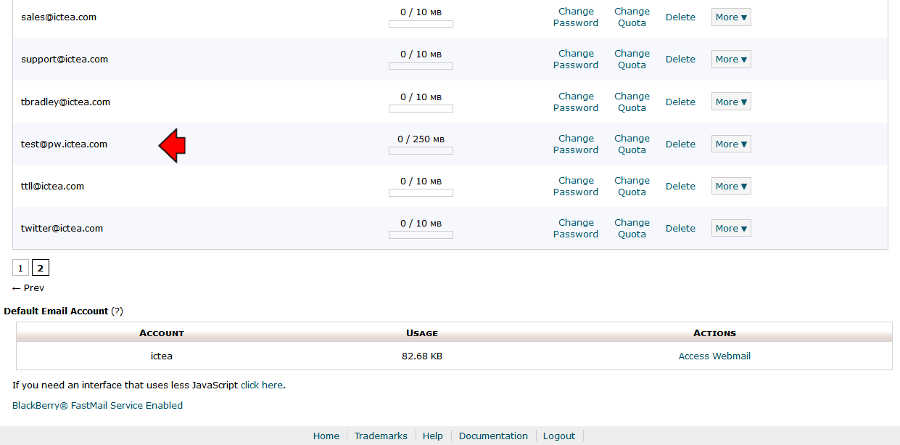
So in the list of accounts and in the column 'account@domain' the new account 'test@pw.ictea.com' appears.
In the next column (Usage / Quota / %) there is a bar indicating how many Mb is the account using and the quota set.
To the right there are links allowing actions to be taken: 'Change Password', 'Change Quota' and 'Delete'.
Also there is a drop-down menu (More) to 'Access Webmail' or to 'Configure Email Client' as Firefox Thunderbird.
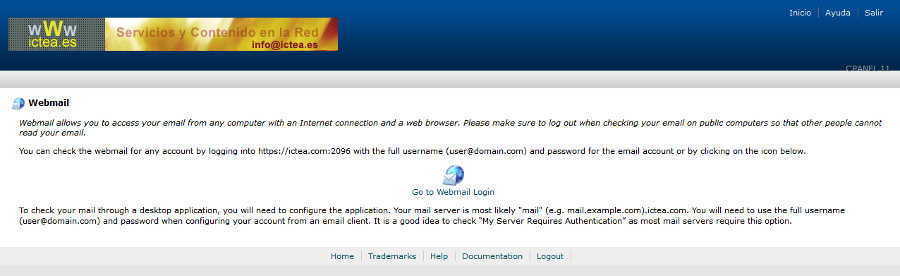
Webmail allows to manage the mail using any web browser.
We can go to Webmail using the following Internet address: www.yourdomain.com/webmail.
To read more about Webmail, click HERE.
To go to Webmail click on the second link (Webmail) in the block 'Mail'. The page has a link to go to Webmail login page.
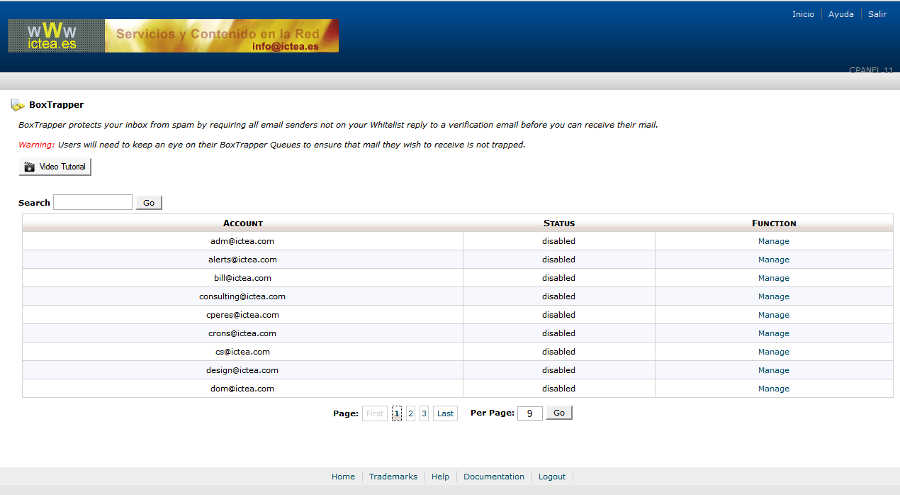
BoxTrapper is an application that protects your inbox by entering spam, forcing all people not on your white list to reply to a verification email before they can send an e-mail.
To go to it click on 'BoxTrapper' (third row in the block 'Mail').
The home page for 'BoxTrapper' appears showing a list of the email accounts and status of 'Boxtrapper' for any of those. Also a link (Manage) allows to manage 'BoxTrpper' for any account.
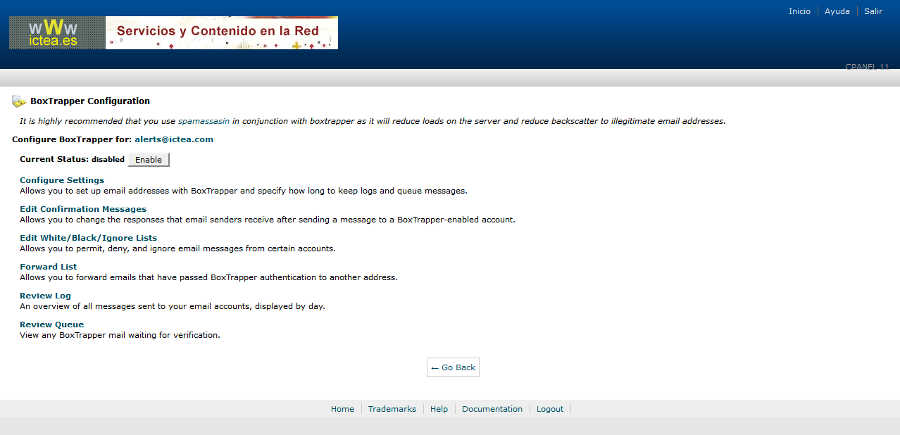
Clicking on the link 'Manafe' a page appears with a button to 'Enable' 'BoxTrapper' if disabled for that account, follow by links for the options available.
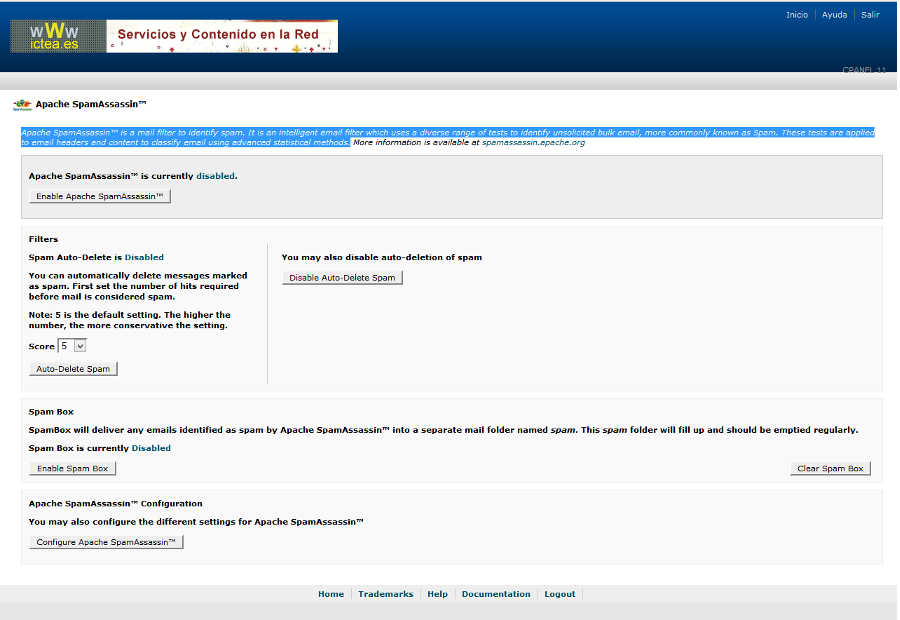
Apache SpamAssassin™ is a mail filter to identify spam. It is an intelligent email filter which uses a diverse range of tests to identify unsolicited bulk email, more commonly known as Spam. These tests are applied to email headers and content to classify email using advanced statistical methods.
You go to its homepage clicking on the link 'Apache SpamAssassin' (fourth row in the block 'Mail').
First of all you see a button to 'Enable' 'SpamAssissin' if disabled for your account. Then you see several buttons explained to set different settings.
Remember this filter applies to ALL email acounts and not to any of them.
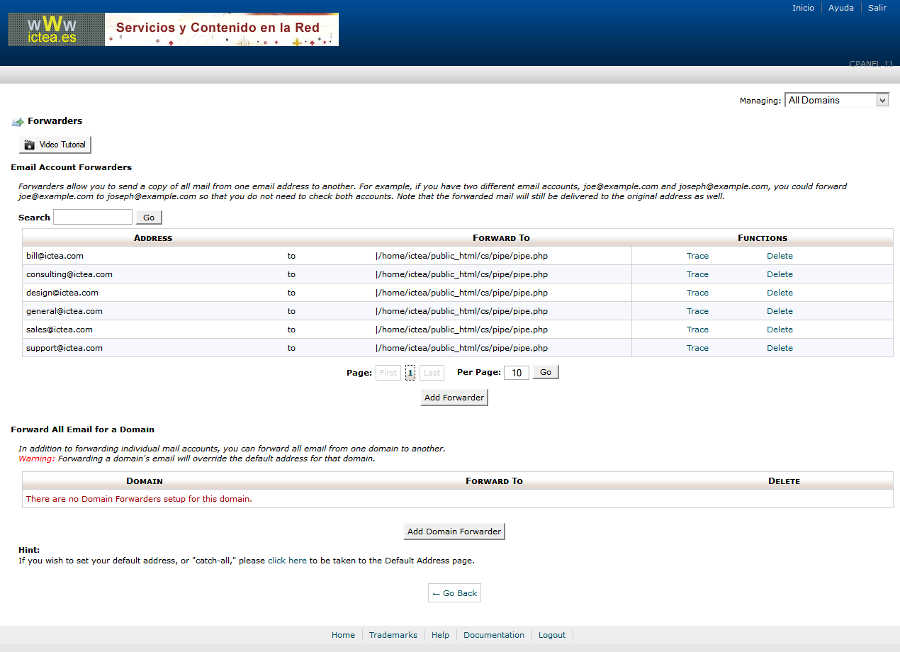
They allow you to send a copy of all mail from one email address to another. For example, if you have two different email accounts, joe@example.com and joseph@example.com, you could forward joe@example.com to joseph@example.com so that you do not need to check both accounts. Note that the forwarded mail will still be delivered to the original address as well, or
In addition to forwarding individual mail accounts, you can forward all email from one domain to another.
You go to its homepage clicking on the link 'Forwarders' (fifth row in the block 'Mail').
You can use auto responders to send a message back automatically to anyone who sends an email to a specified account
This can be useful for times when you are on vacation or unavailable, or if you have a generic message that you wish to send from a support email address.
You go to 'Auto Responders' clicking on the link 'Auto Responders' (sixth row in the block 'Mail'). Its homepage appears with a list of the ones alrady defined and a button to create a new one.
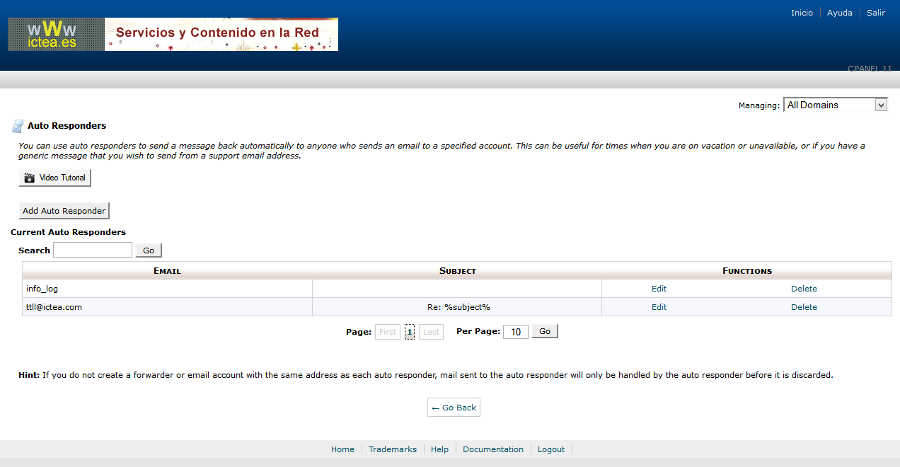
Click on 'Edit' for any already defined (you will see the same boxes as when creating a new one).
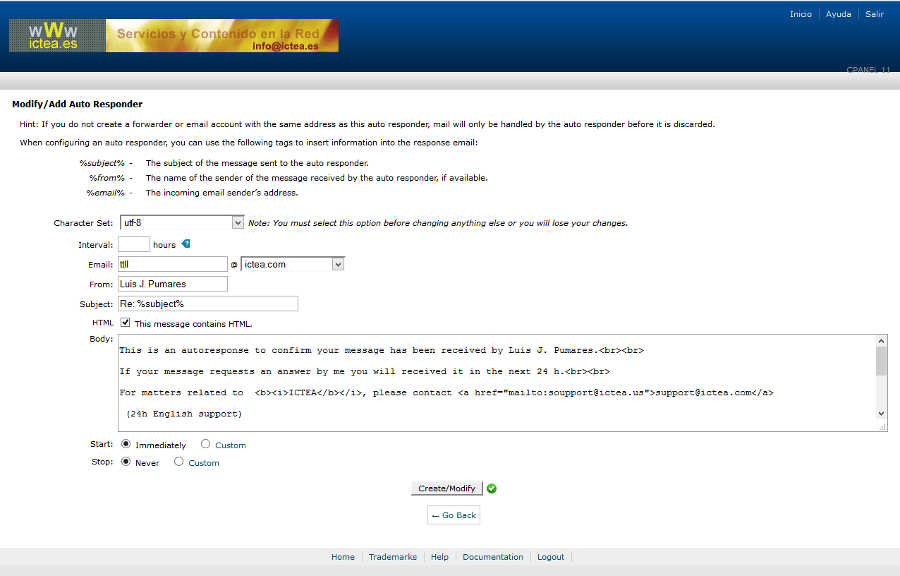
- The first box (Character Set) is 'utf-8' by default and shouldn't be changed.
- The second box (Interval) is the number of hours to wait between responses to the same email address (left blank for no time).
- The third box (Email) is the email address to which the auto-responder applies.In the fourth the name you want to appear as the sender of the message.
- In the fourth the name you want to appear as the sender of the message.
- In the fifth the subject of the message (in this example we put 'Re %subject%' where '%subject%%' is replaced, as indicated above, by the subject of the message received
- If we want to send the message as HTML, mark the appropriate box
- And in the last (Body) wrote the matter of the autoresponder.
3.1.- Create/Delete a Database.-
MySQL databases allow you to store a large amount of information in an easy to access manner.
The databases themselves are not easily read by humans. MySQL databases are required by many web applications including some bulletin boards, content management systems, and others. To use a database, you’ll need to create it.
Only MySQL users (different than mail or other users) that have privileges to access a database can read from or write to that database.
The Basic Hosting Plan allows to create up to 5 MySQL databases (optionally increasable),
(Important.- The database server name is 'localhost').
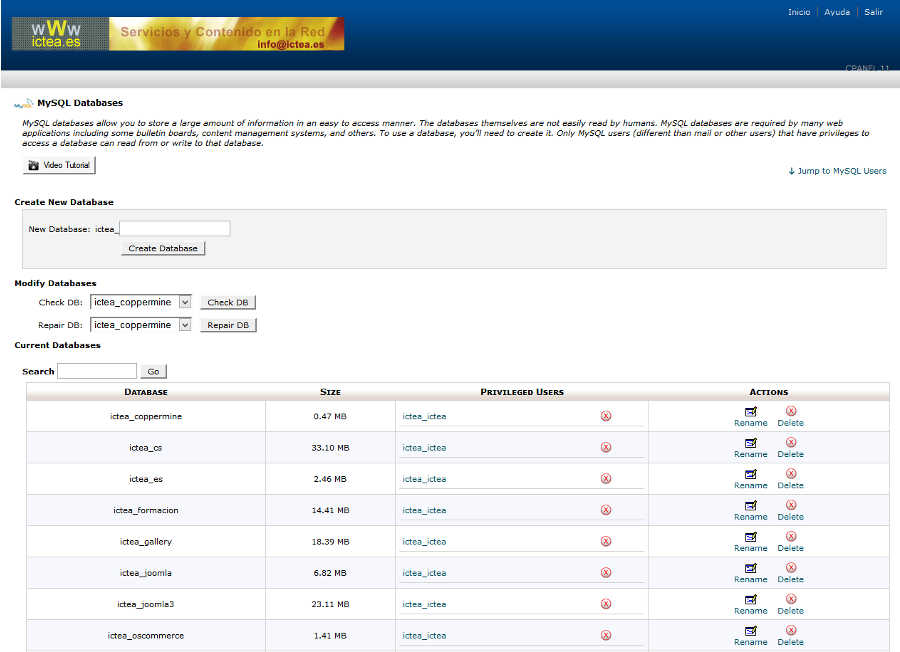
You go to the homepage of 'Databases', where you can Create/Delete, etc. a database, clicking on the link 'MySQL Databases' (first row in the block 'Databases').
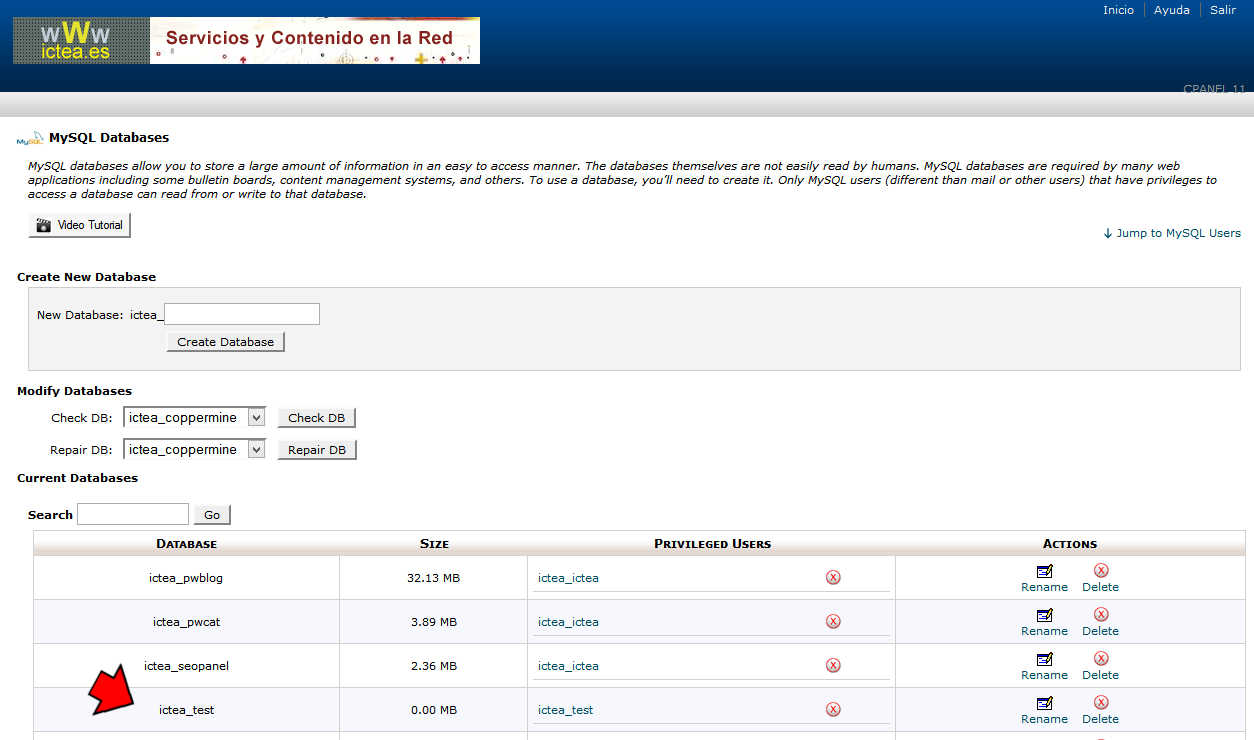
Databases homepage appears showing first of all a box to create a database.
There are also two drop-down menus allowing to modify an existing database:
'Check DB' allowing to check the integrity of a database, and
'Repair DB' allowing to repair a database.
Below there is a list with the existing databases with a first column showing the database name. The next column shows its size.
The third column shows the user of the database which is a link to manage its priveleges and next a link to revoke the user'r access to the database.
The last column has two links. One link allows to rename the database and the other to delete it.
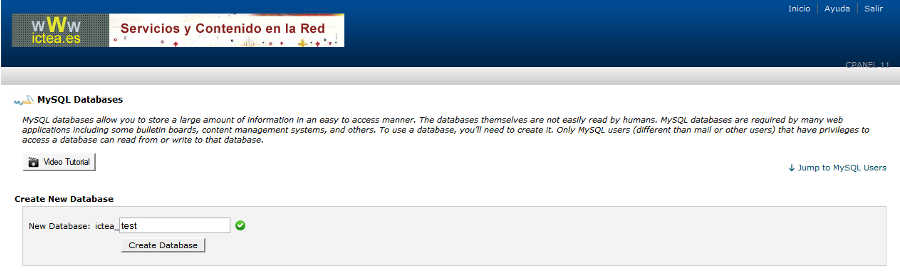
Let's create a database named 'test'. As tthe username the database name will be 'ictea_test'.
Enter in the box (Create New Database) the word 'test' and click on the link 'Create Database':
A confirmation appears:
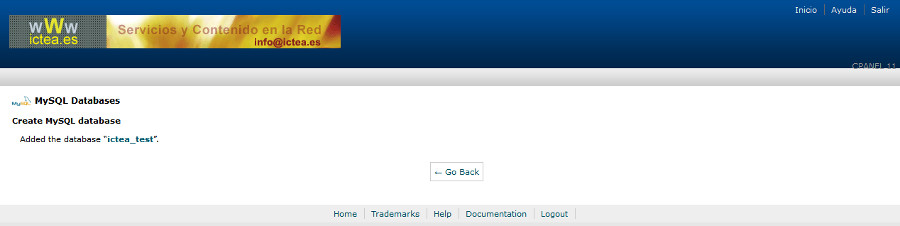
Click the link 'Go Back' to go to the homepage:
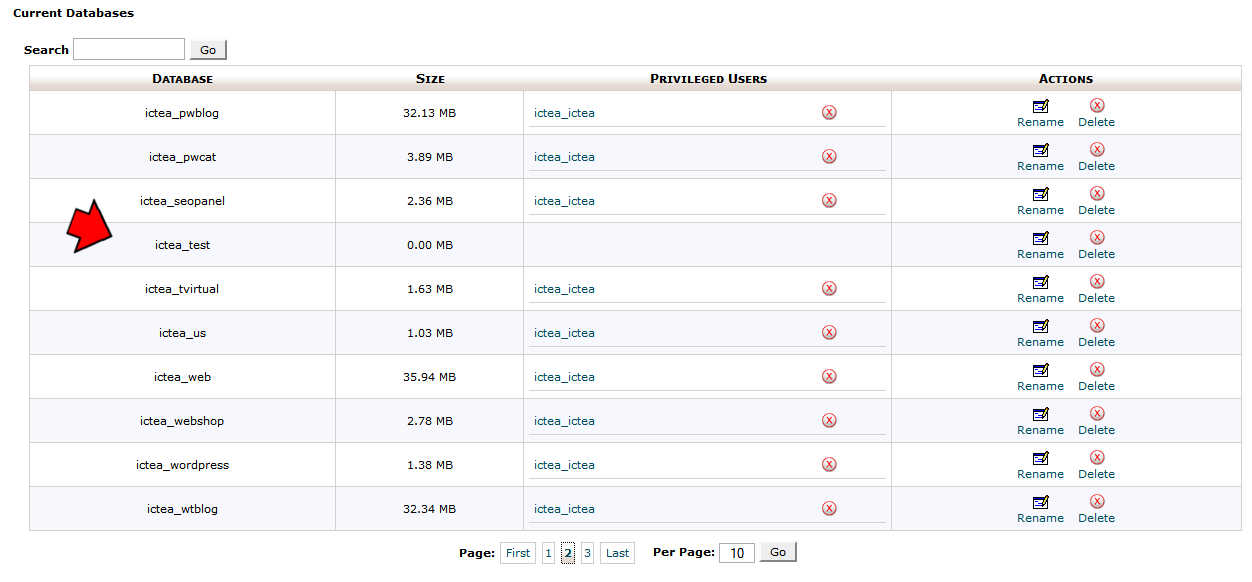
See that the database just created appears in the list, but with no user yet.
Create a new user (test) and the user full name will be 'ictea_test'. The new user will be assigned to the new database.
Lower at the homepage the users management is.
Enter in the first box the username (test).
In the second box enter the password of the new user and confirm it.

After clicking on 'Create User' a confirmation appears.

Click the link 'Go Back' to go to the homepage and the new user already appears in the users list.

Let's add the new user to the new database. From both drop-down menus select the user and the database and click on the link 'Add':
A page appears to set the privileges the user will have regarding the database.
(Note.- If you mark 'ALL PRIVILEGES' all boxes will be marked).
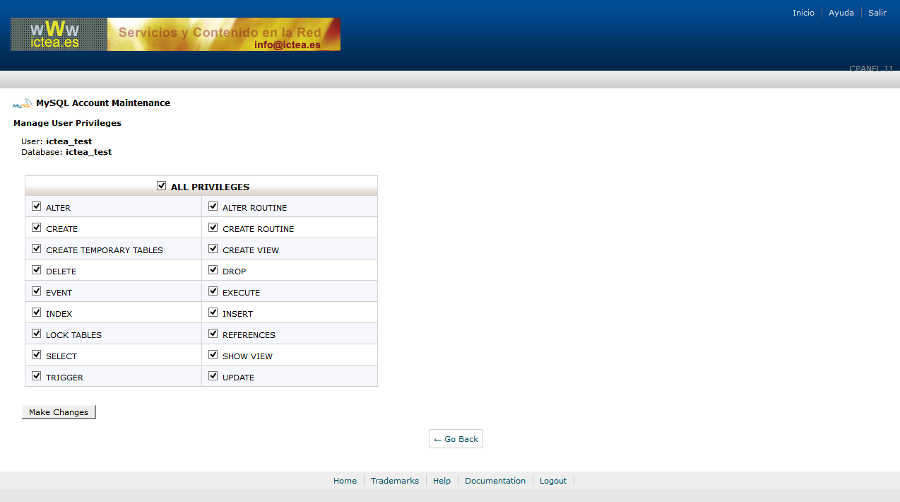
After clicking on 'Make Changes' a confirmation appears.
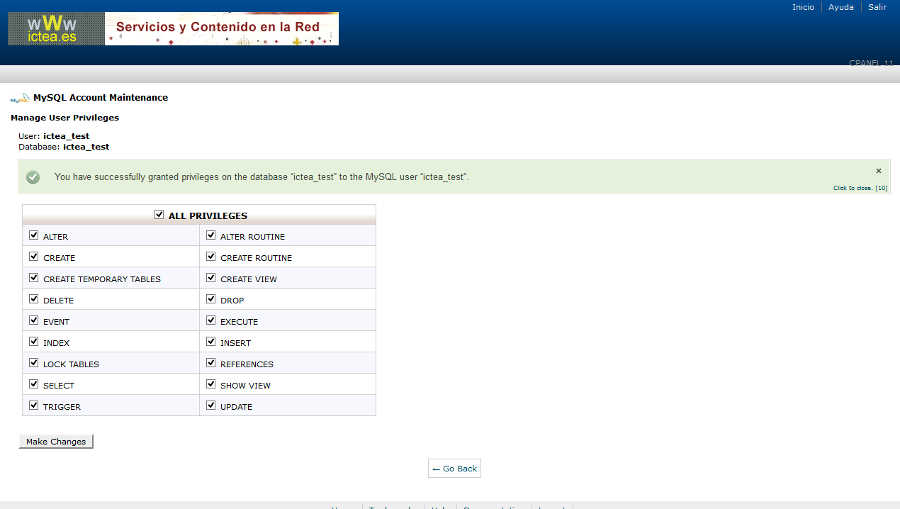
Click on 'Go Back' and see the database has the new user assigned to it.
(Important: You can also create a database using 'MySQL® Database Wizard'. You access the Wizard clicking on the link 'MySQL® Database Wizard' (third row in the block 'Databases').
3.2 Backups of Databases (phpMyAdmin).-
Let's make a database backup. Backups should be made as frequently as possible.
We use the program 'phpMyAdmin' which allows to work with databases.
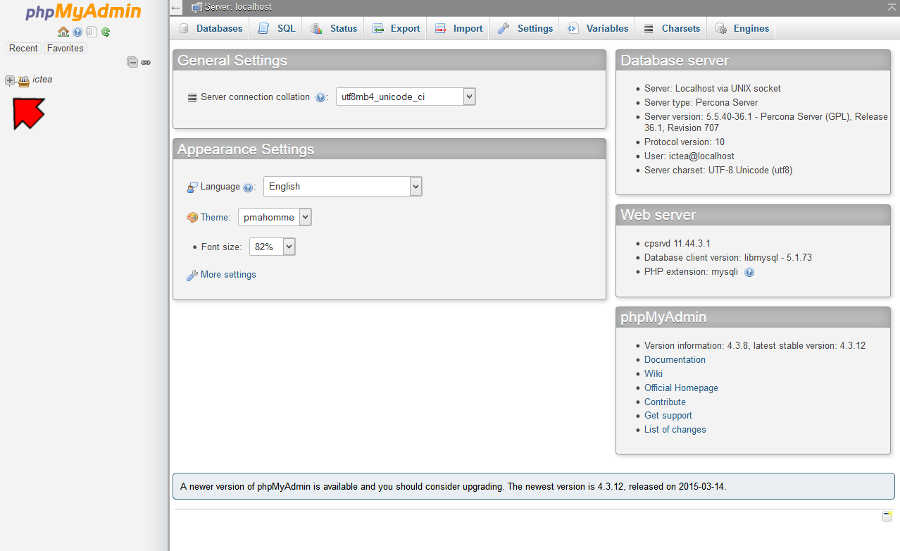
Get access to it (opens in a new window) clicking on the link 'phpMyAdmin' (third row in the block 'Databases').
The homepage for phpMyAdmin appears, and a column to the left shows the folder(s) containing the databases. Click on the icon (+) as indicated by the arrow to expand the folder.
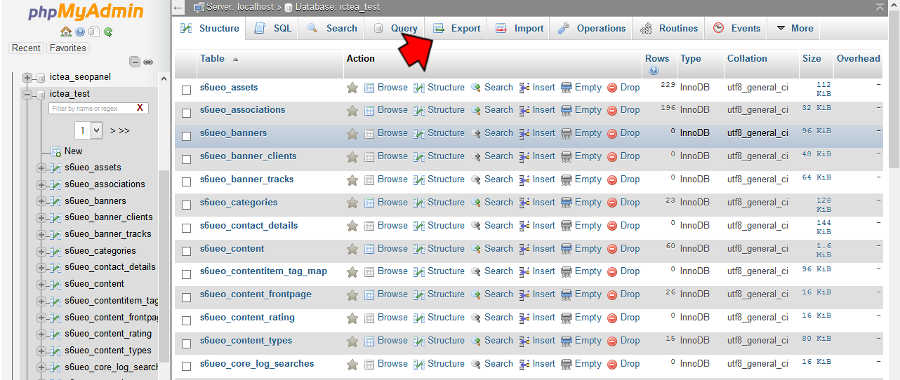
Now click on the name of the database you want to work with:
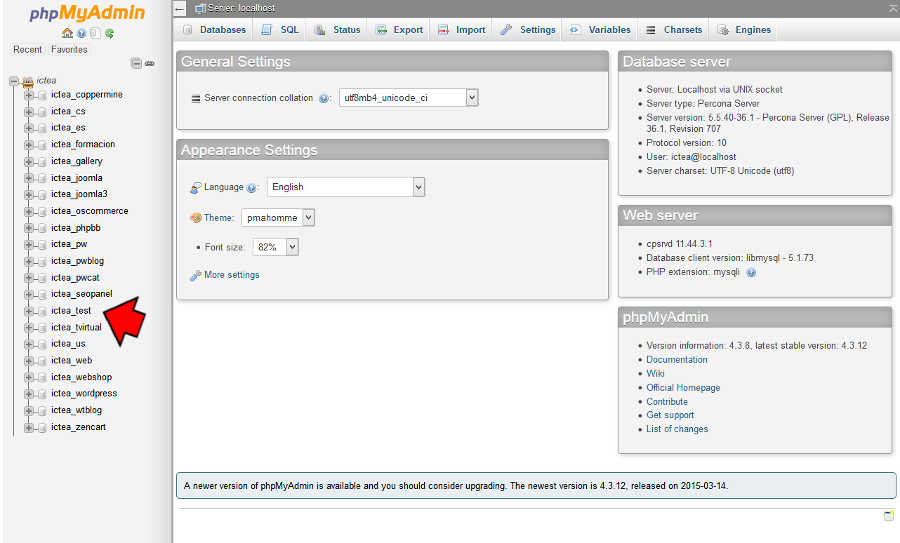
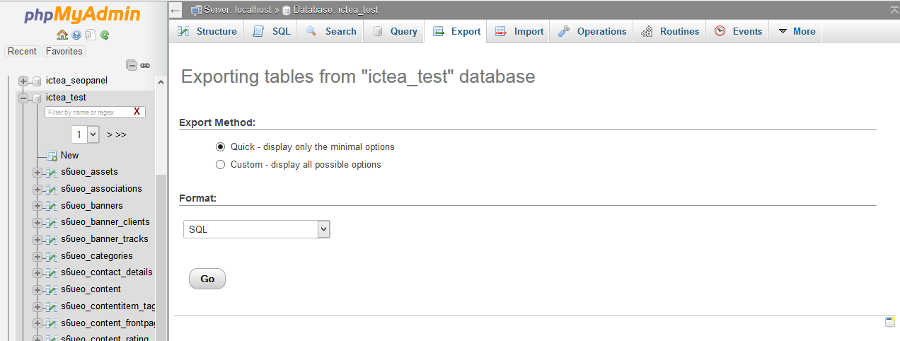
When the database opens click on the link 'Export' in the upper part:
In the page appearing, by default everything is O.K. Simply click on 'GO'.
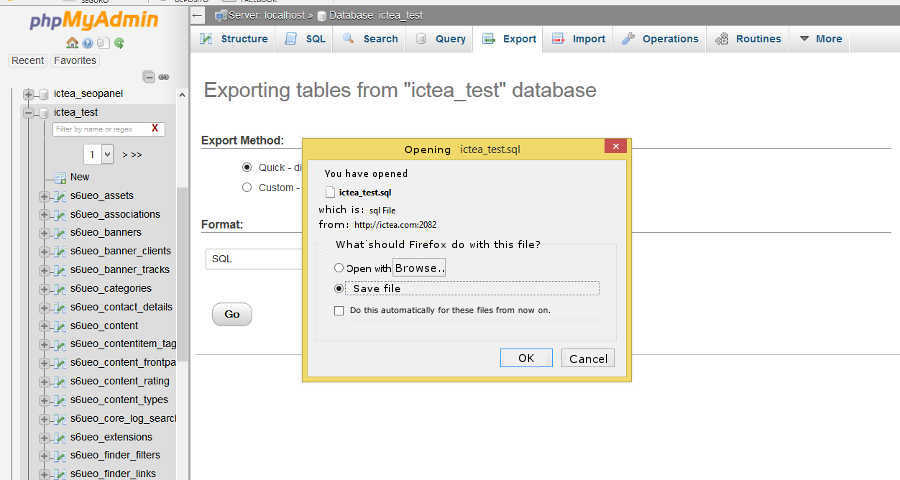
A window opens allowing actions to be taken with the opened file. Mark 'Save File' and click 'OK'.
Give a filename and select a folder to save the backup:
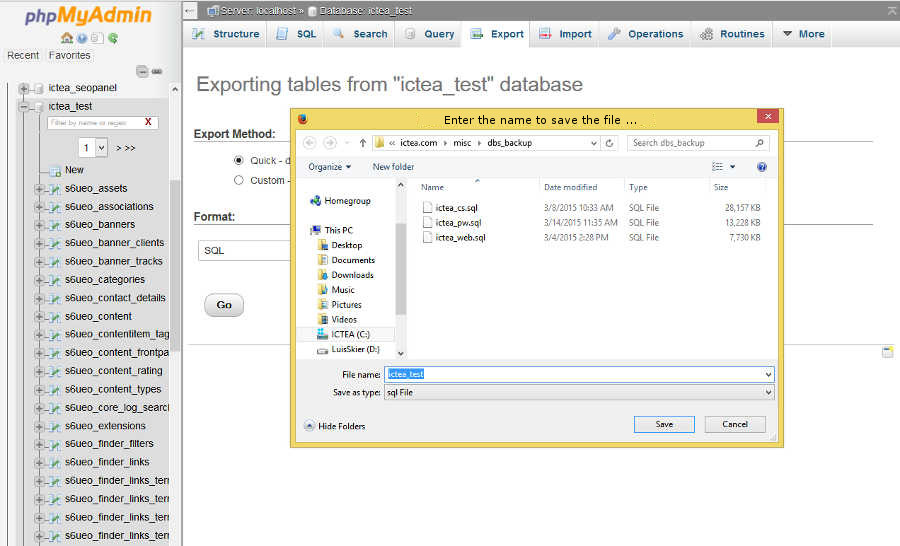
(IMPORTANT.- Databases tend to grow, so that a check that the file has been downloaded correctly is to check its size is greater than the previous backup).
Backups allow you to download (to your computer) a zipped copy of either your entire site (including your home directory, databases, email forwarders configuration, and email filters configuration) or one of the previously mentioned parts of your site.
This method of backup is recommended as monthly by the user to perform copy, as will allow you to have a complete picture of web hosting at the date of the completion of the backup.
f your website is attacked by hackers and this causes your server to fail, what does? How to recover vital information from your website? The backup of these files is very important, can not ignore it.
In the last three decades has come quite far. Now is a very busy time for computers and the Internet, with its billions of indexed web pages, and with new possibilities where any citizen can purchase your own server and create your own website for the company that has.
Many professional webmasters know how much important is the file backups. Since the early days of PC technology, the backup of the data has been of great importance.
4.1-How to Make/Download a full backup.-
A full backup includes all of the files in your home directory, your MySQL databases, and your email forwarders and filters. You can back up your account to preserve your data, or to move your account to another cPanel server.
Once initiated, you must allow the backup time to perform. The server can send you an email to an address you specify once the backup is ready to download. The steps for generating, downloading and restoring a full backup are explained in detail below.
| Note: You may only create cPanel backups of up to 10 GB with 150,000 inodes or less. If your backup is larger than 10GB or has more than 150,000 inodes, you must contact us for help to bypass the limit. |
-
How to Generate a Full Backup in cPanel
To generate a full backup in cPanel:
- Log into cPanel.In the Files section, click on the Backups icon
- In the Files section, click on the Backups icon.
- Under Full Backup, click Generate/ Download a Full Website Backup.
- On the next page, select the Home Directory option from the Backup Destination drop-down menu.
- For Email Address, select whether or not you wish to receive an email notification once the backup is complete. (You may also change the notification email address in the provided field if you wish).
- Click Generate Backup.
This will generate the back up for you and place the tar.gz file inside of your home directory. You can then download the backup via cPanel, FTP or SSH.
-
How to Download the Full Backup
To download the backup from cPanell:
- Log into cPanel.
- In the Files section, click on the Backups icon.
- Under Full Backup, click Generate/Download a Full Website Backup.
- Under Backups Available for Download, click the link for the backup file you wish to download.
- Select a destination on your PC where you would like to save the backup.
-
How to Restore a Full Backup
A full backup must be restored by the root user for the server. We will restore your full backups for free as long as the account previously existed on the server and you have uploaded the file yourself.
| To restore a backup, simply contact us. Please indicate the name of the file you wish to restore and where it can be found on your server. |
4.2- How to download a backup of the root directory-
Backups are vital for maintaining a website. It is very important to back up your files in a weekly or monthly basis or before making major changes, so a backup is available in the event of data loss.
A backup of the root directory will copy all files in that directory. This can be useful to have a backup of your website, however, is only a partial backup and will not include DNS, MYSQL or other files or system settings. To generate a full backup, please see above.
-
Create a backup of the root directory
Para crear una copia de seguridad de su directorio raíz:
- Log into cPanel.
- In the Files section, click on the Backups icon.
- In Partial Backup >> Download a Root Directory Backup, click on the button Root Directory.
- In the drop-down menu click on Save as o select Save file.
- Select a destination to save the backup on your PC.
- Click on Save.
The backup file will be downloaded to the destination you have chosen as a .tar.gz format that can be opened with the Linux command line. The file can also be decompressed on a Windows device with appropriate software.
-
Restore a backup of the root directory
| Important: Restoring a backup will overwrite any existing file! |
. CPanel can restore a backup of the root directory in the same location as the backup was created.
- Log into cPanel.
- In the Files section, click on the Backups icon.
- In Partial Backup >> Restore a Root Directory Backup, click on the button Browse.
- In the drop-down menu that appears, navigate to the appropriate destination and select the backup file you want to use.
- Click on Open.
- Click on Upload.
A new window will open displaying all files that have been replaced. This is for information only and may be closed.
| Important: You can also Create/Restore a Backup using the 'Backup Wizard' /second row in the block 'Files'. |
